Quick Start

Creating an Application
To create a new application, start by clicking on "Create Application" in the admin console.
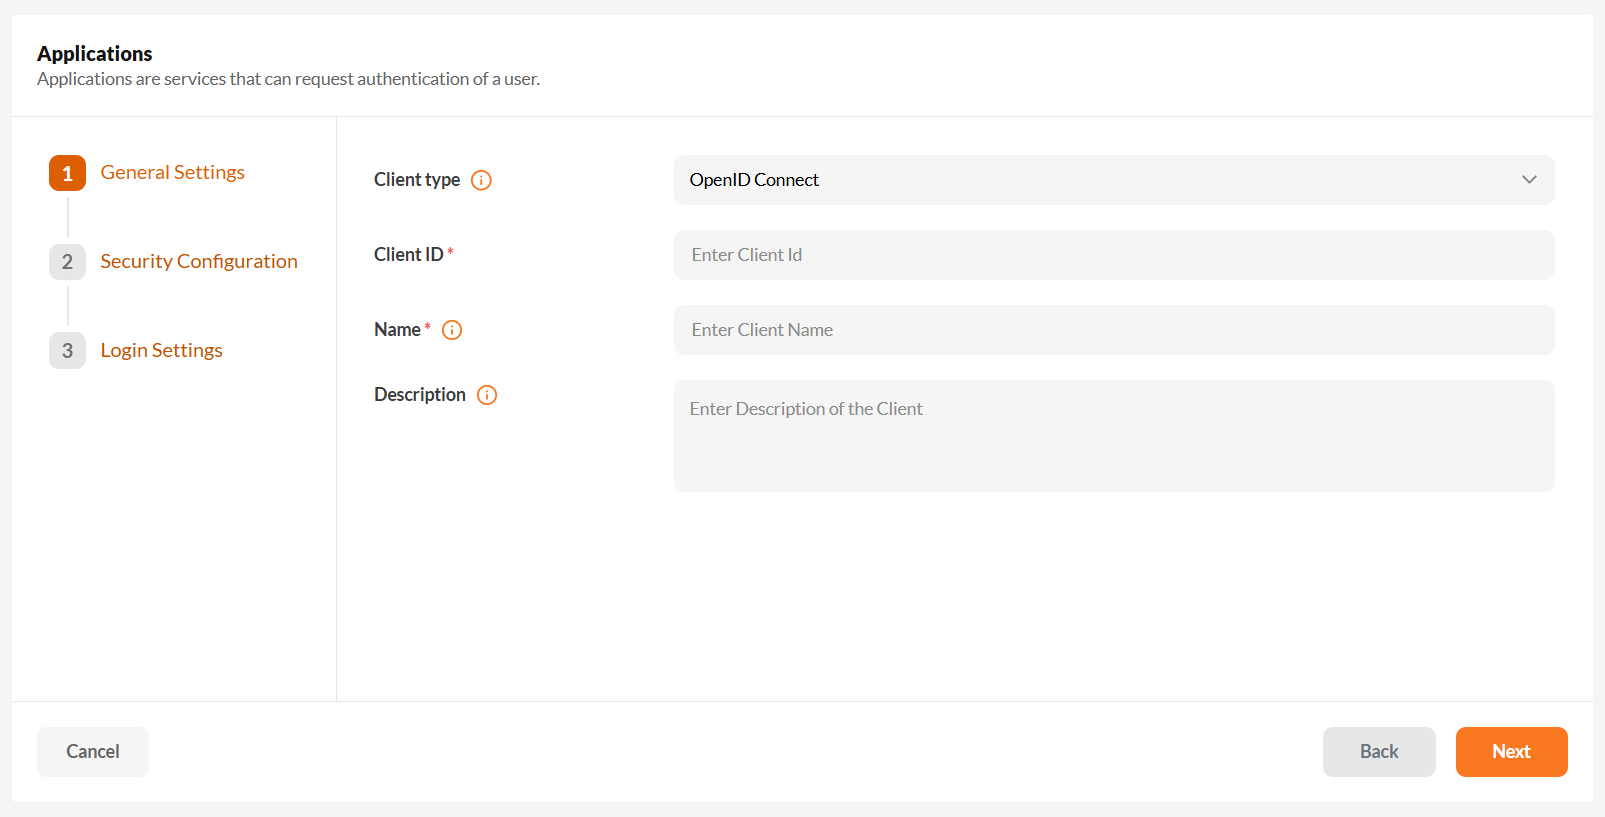
Select the appropriate Client Type/Protocol based on your application's requirements:
- OpenID Connect
- SAML 2.0
Next, provide a Client ID and Application Name to identify your application.
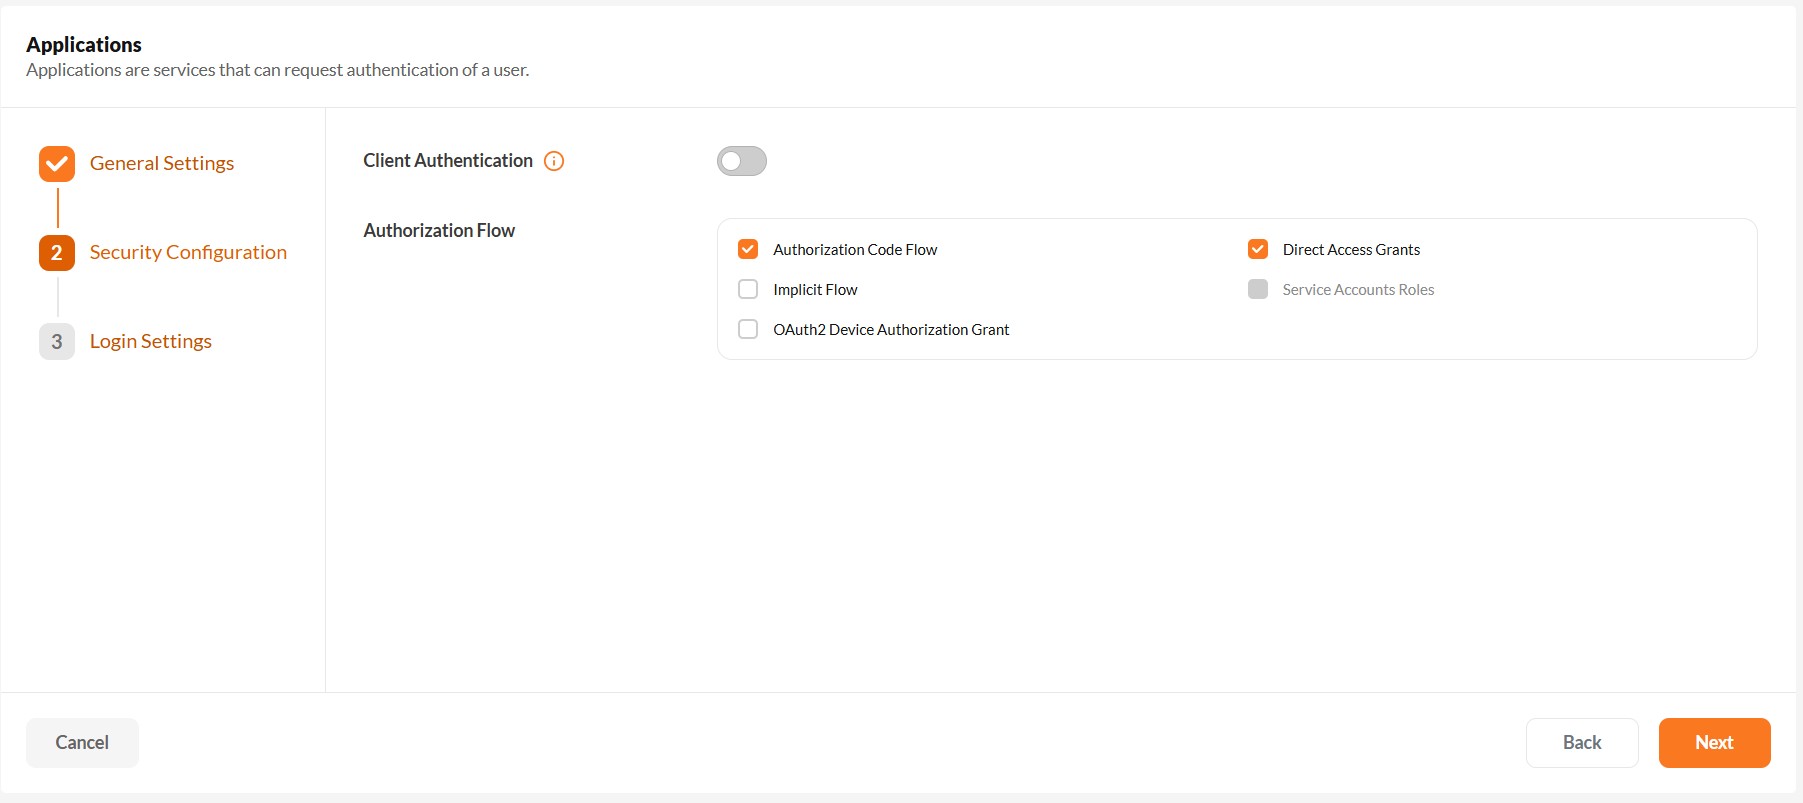
Select the appropriate authentication flow based on your application type — whether it's a regular web application, single-page application (SPA), native client, or a backend system.
Choosing Authentication Flow
Use Authorization Code Flow with PKCE for modern SPAs, native clients, and mobile apps. It ensures token security without relying on client secrets.
Authorization Code Flow
Use this for browser-based applications such as SPAs or server-side web apps. This flow securely exchanges an authorization code for an access token, ensuring tokens aren't exposed to the browser.
Authorization Code Flow with PKCE
Recommended for SPAs, native clients, and mobile apps. PKCE enhances security by protecting against authorization code interception — ideal when client secrets can't be safely stored.
Avoid using Implicit Flow as it exposes tokens directly to the browser and increases security risks. Prefer Authorization Code with PKCE instead.
Implicit Flow
Not recommended for modern applications.
Direct Access Grants (Resource Owner Password Credentials)
This flow is meant for trusted REST clients such as legacy systems or internal backend services. It collects credentials directly and exchanges them for tokens — use with caution due to security concerns.
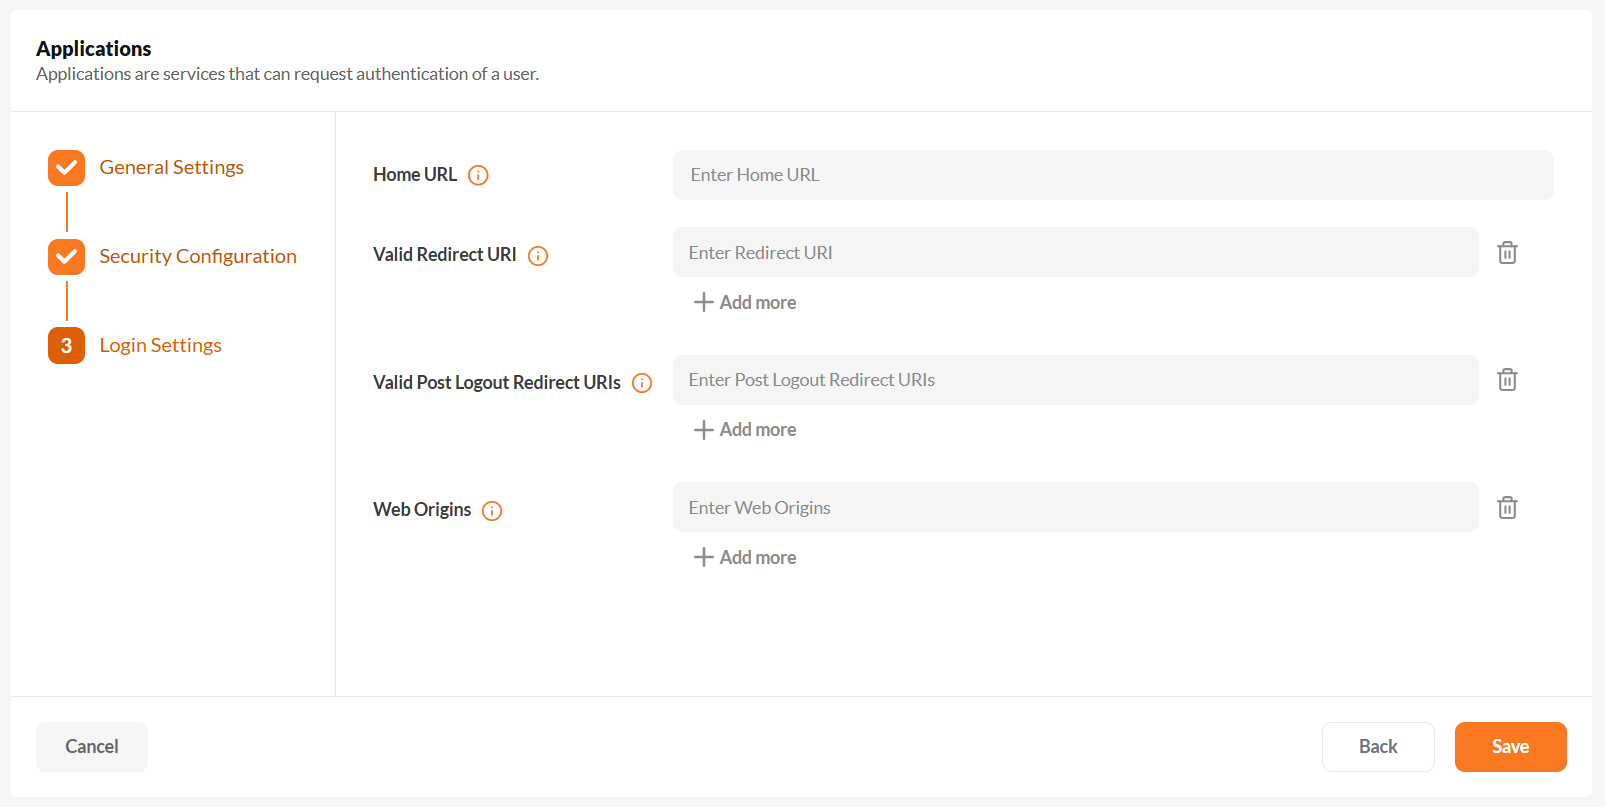
After selecting the authentication flow, configure:
- Redirect URI: Required to initiate authentication from your client app.
- Web Origins: Ensure proper CORS setup for browser-based apps.
- Logout Redirect URI: Where IAM redirects users after logout.
If this is not set, users will not be able to log out properly from your application and will encounter an error.
Application Scopes
Scopes define the data and permissions an application is requesting. They help manage access control and user consent.
Common OpenID Connect / OAuth 2.0 Scopes
These scopes are standard and used in most OAuth and OIDC-compliant applications:
openid: Required for OpenID Connectprofile: Basic user profile infoemail: User emailoffline_access: For obtaining refresh tokens
Use offline_access if your app needs long-term access, even when the user is not actively logged in.
SAML Scopes (Attribute Mappings)
Unlike OAuth, SAML 2.0 does not use scopes. Instead, it relies on attribute mappings, which can be configured under the Application Scopes section.
Creating a New Scope
To define a new scope in the IAM Admin Console:
- Navigate to Applications → Scopes
- Click + Create Scope
- Enter the required details:
- Name: A display name for the scope.
- Protocol: OpenID Connect or SAML 2.0
- Include in Token: Toggle if this scope should be part of the token.
- Additional options like description, type, consent screen, etc.
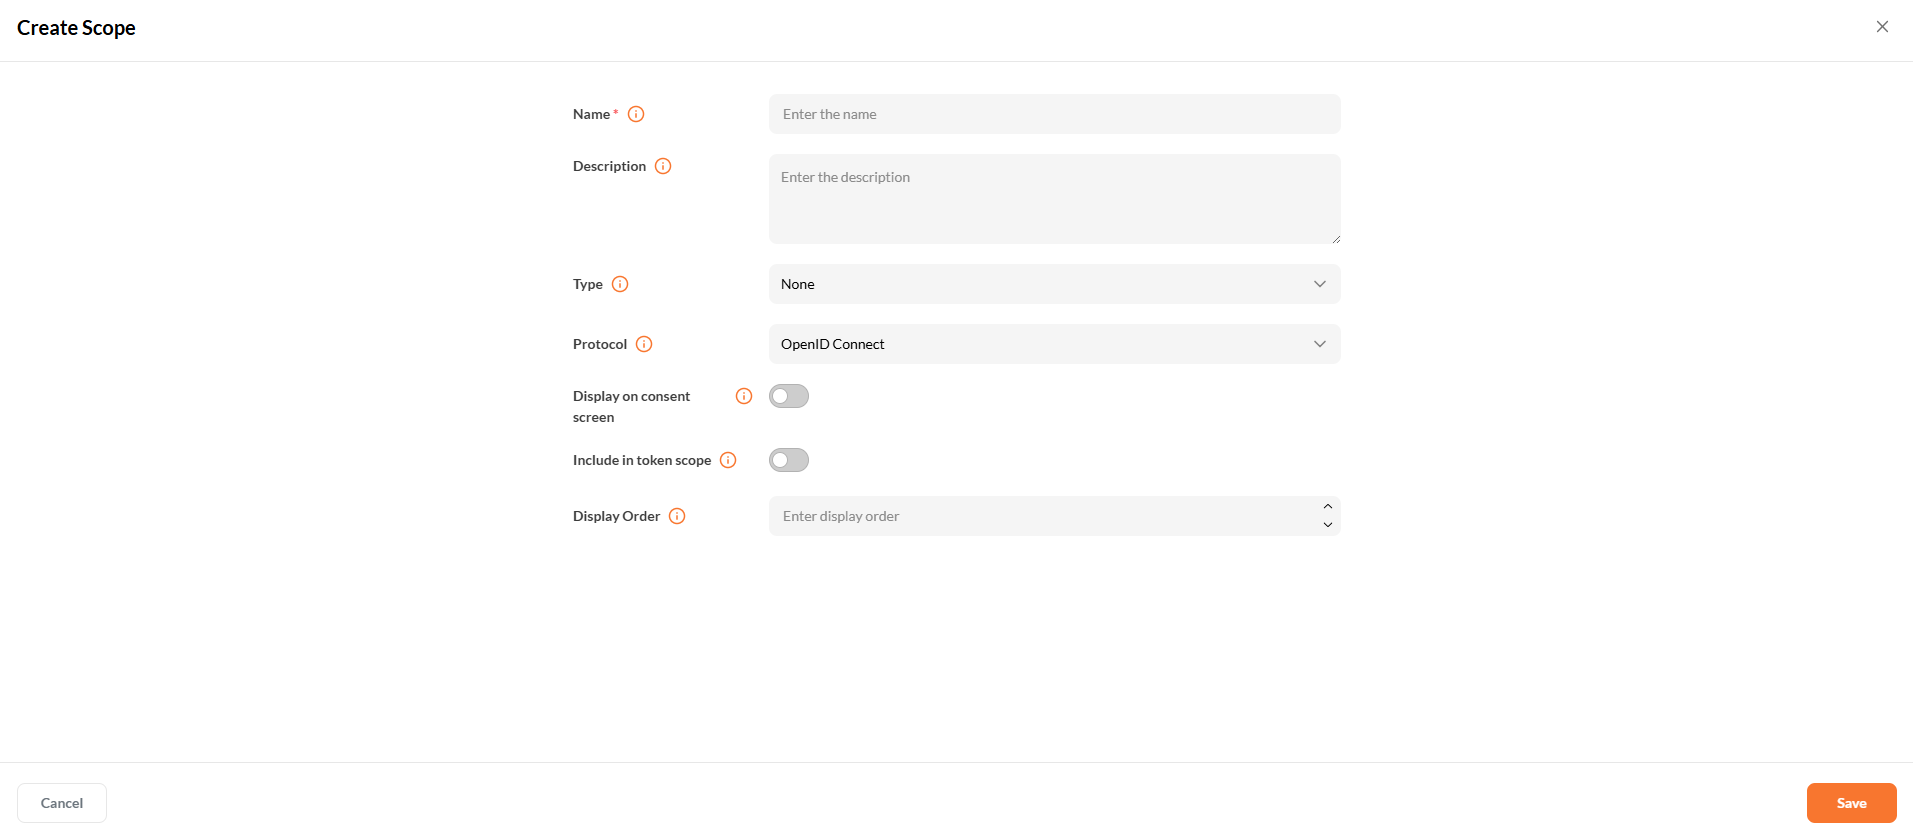
- Click Save to create the scope.
Add protocol mappers to define what data this scope adds to the token.
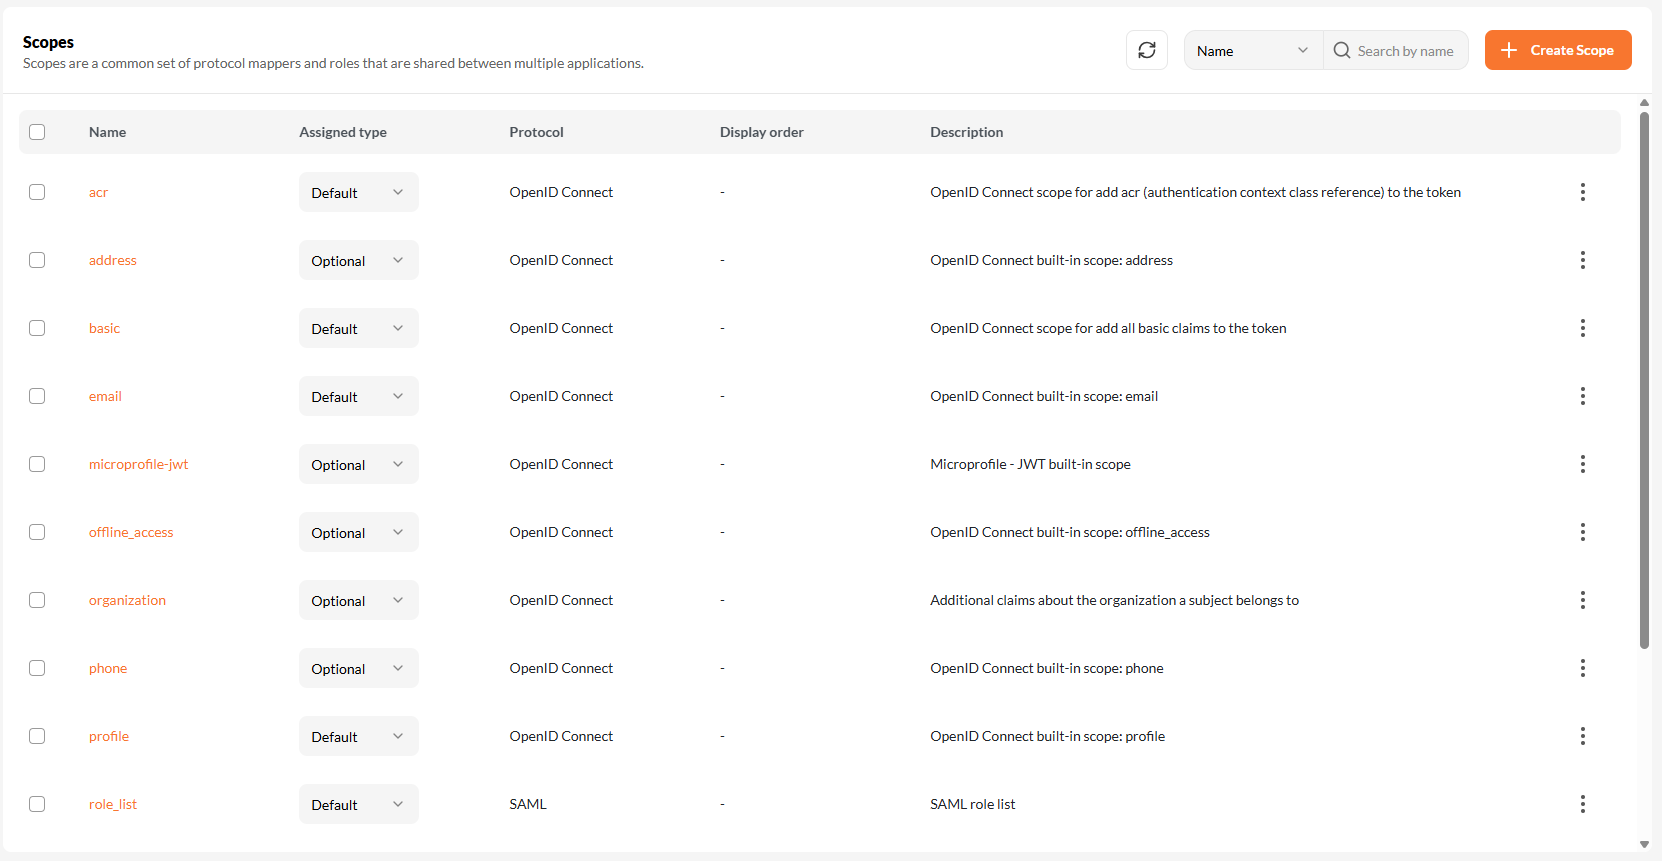
Viewing Available Scopes
Once created, you can view and manage scopes from the Applications → Scopes section.
Each scope shows:
- Name
- Assigned Type (Default / Optional)
- Protocol
- Description
Attaching Scopes to Applications
After scopes are created, they can be assigned to specific applications.
- Navigate to Applications → Applications
- Select the desired application
- Open the Application Scopes tab
- Assign scopes as:
- Default Scopes – Automatically included in all tokens
- Optional Scopes – Included only when requested using the
scopeparameter at login
Scopes must be created at the tenant level before they can be assigned. They cannot be created inside an application.
Using Scopes in Authorization Requests
Default scopes like openid, profile, and email are automatically included.
To request optional scopes, add them to your request:
scope=openid profile email offline_access address phone
Adding Users
Follow the steps below to add new users to your IAM tenant.
1. Navigate to the Users Section
Open the Users tab from the sidebar to manage existing users and add new ones.
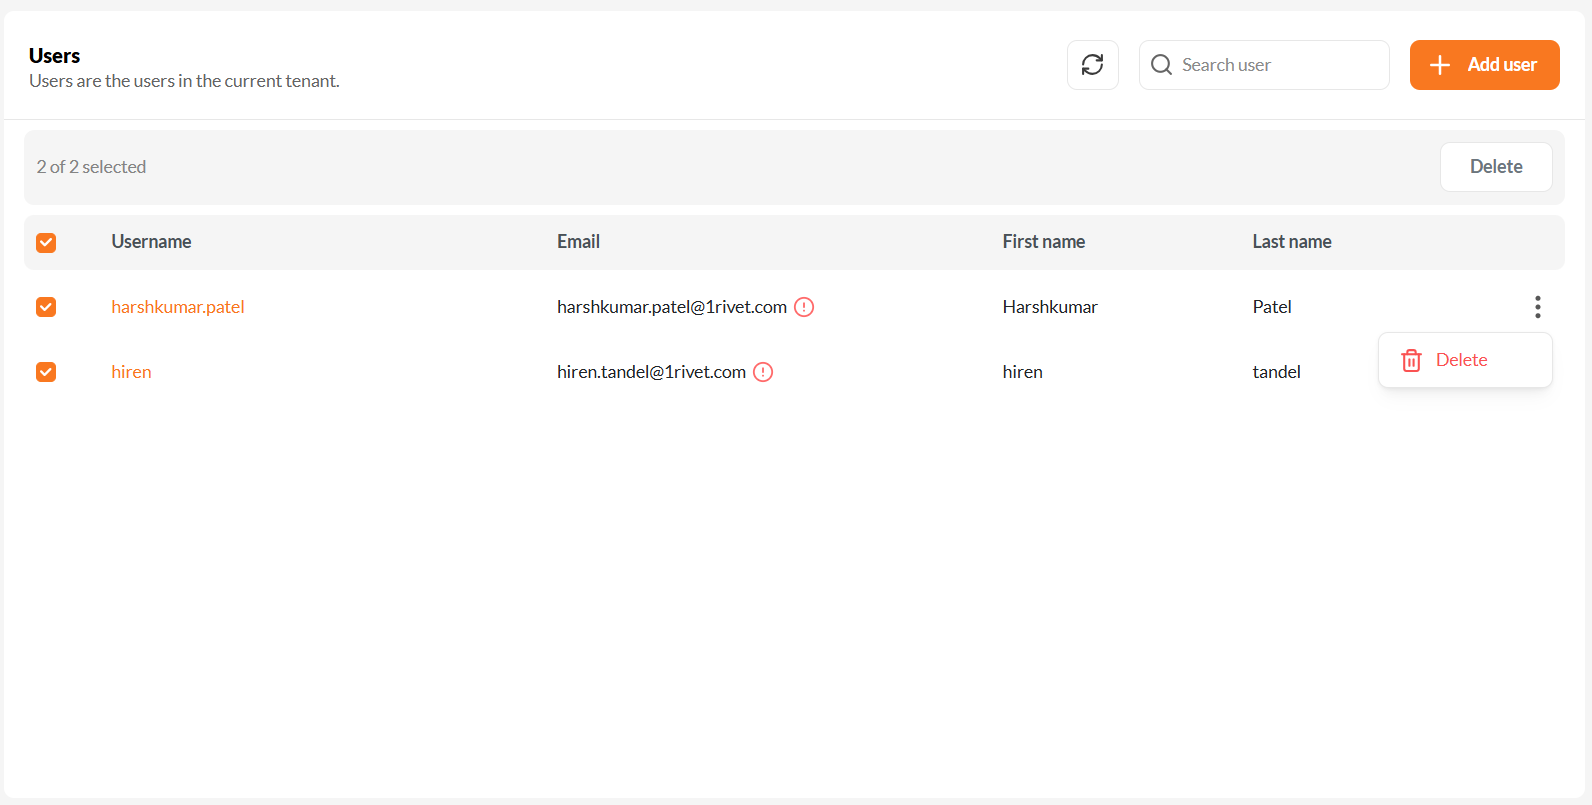
The Users screen displays all registered users in the tenant. You can search, delete, or click + Add User to create a new one.
2. Fill in the User Details
Click + Add User to open the user creation form.
Complete the following fields:
- Username (required): A unique identifier for the user, often their email address.
- Email: The user's email address.
- First Name and Last Name: The user's basic identity details.
- Optional Fields:
- Groups: Assign the user to specific IAM groups.
- Email Verified: Mark the email as pre-verified if applicable.
- Required User Actions: Specify actions the user must complete after login. These may include:
- Configure OTP
- Verify Email
- Update Password or Profile
- Accept Terms and Conditions
- Register WebAuthn (standard or passwordless)
- Delete Account or Credential
- Update User Locale
Leverage required user actions to enforce critical steps like MFA setup and email verification during the user’s first login.
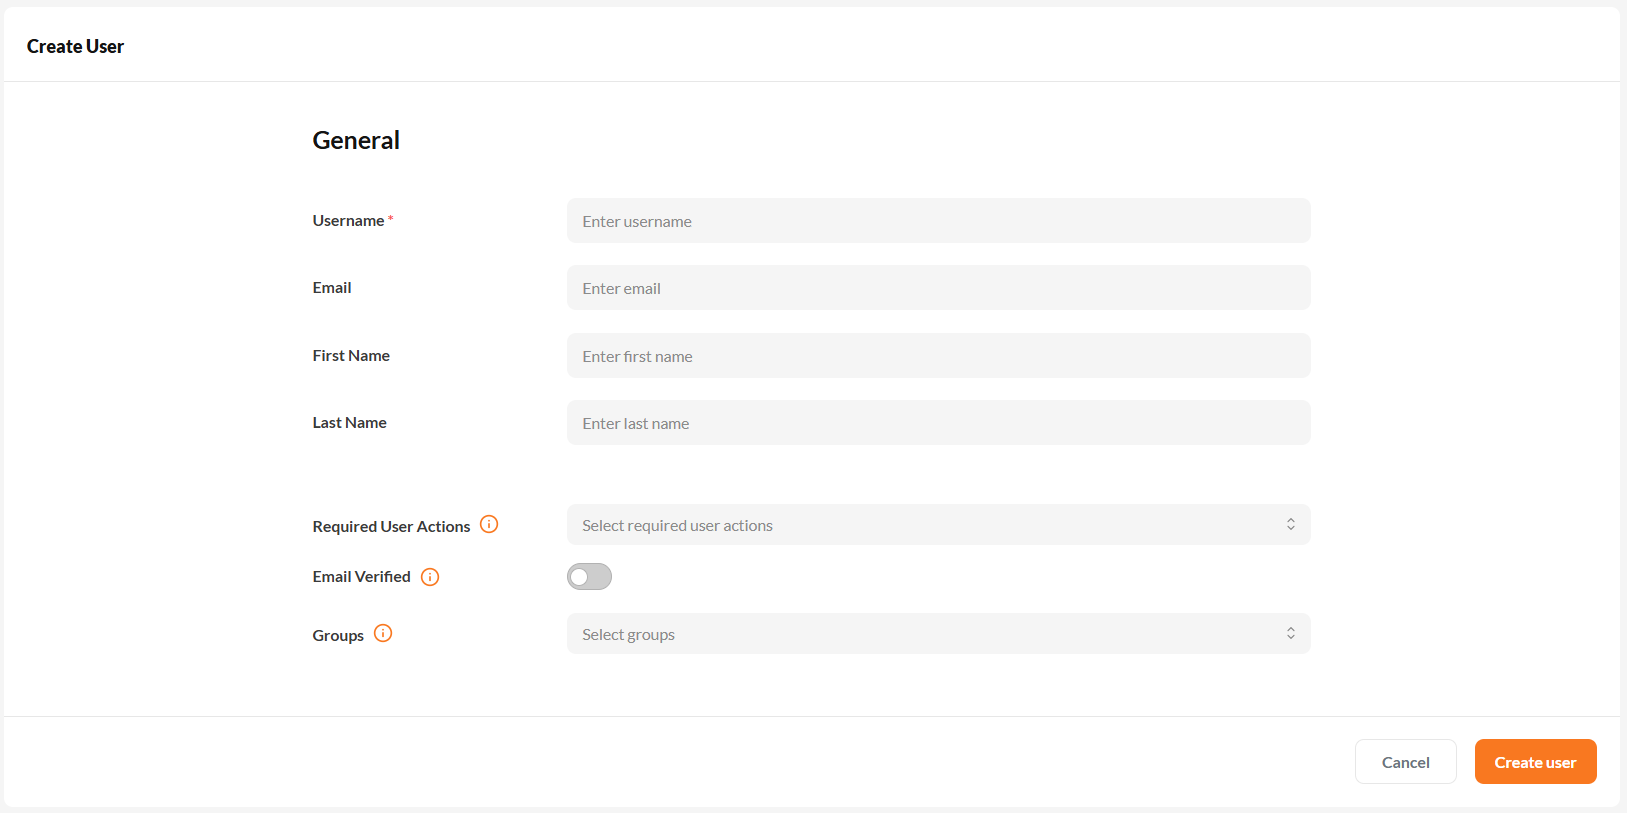
The Create User form allows you to define identity attributes, assign groups, and configure onboarding requirements.
Click Create User to save the new account.
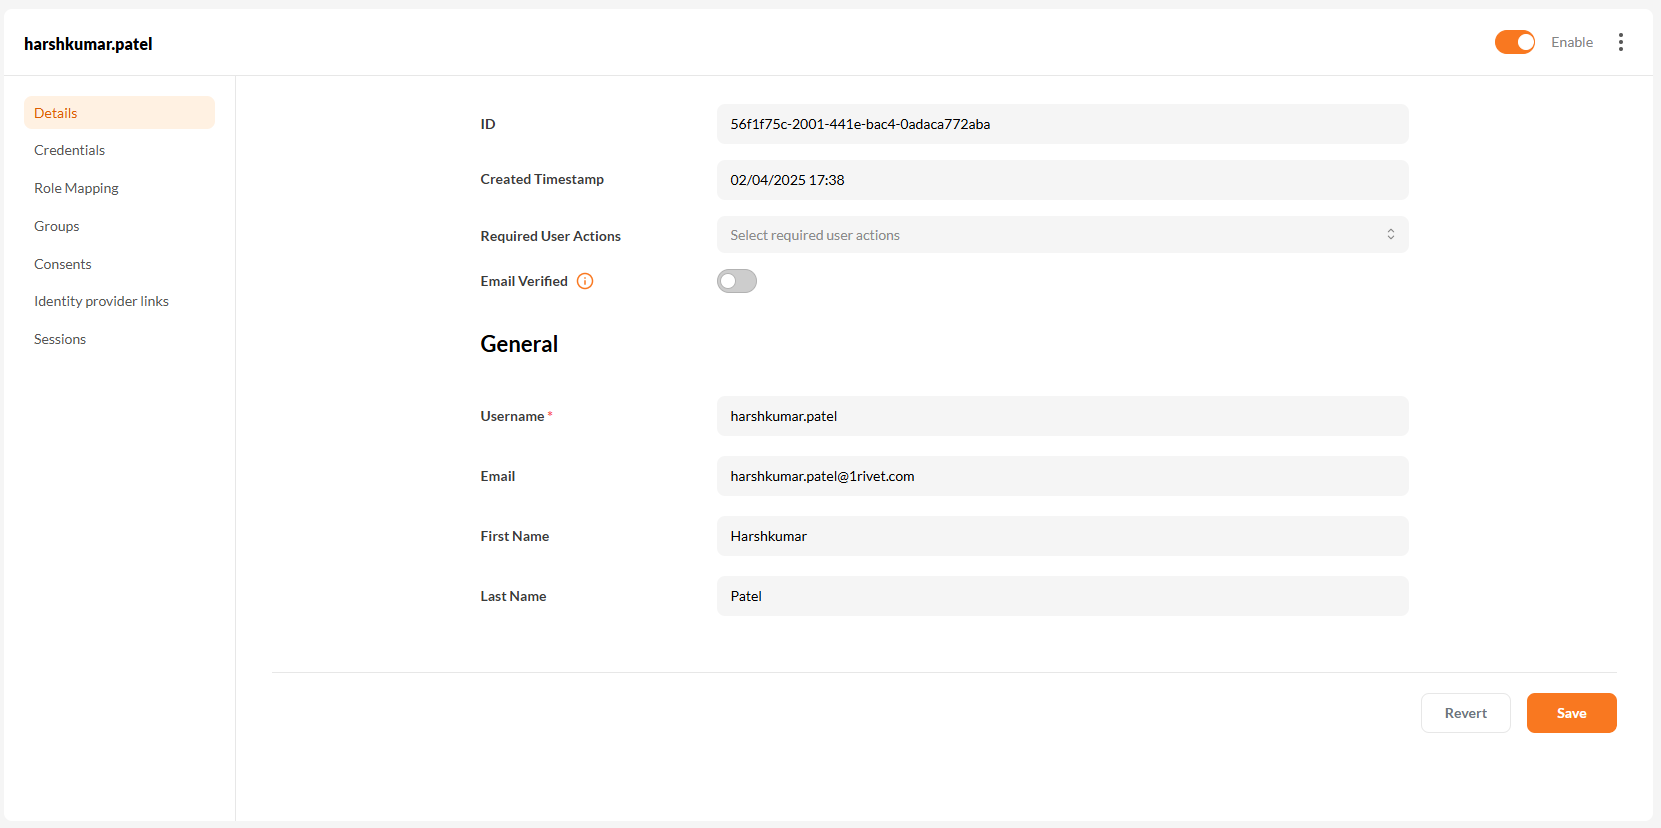
3. Review & Edit User Details
After saving, you'll be redirected to the user’s profile page where you can review or edit their general information.
4. Set a Password
After creating a user, navigate to the Credentials tab to configure their login credentials.
Click the Set Password button to define the user's initial password.
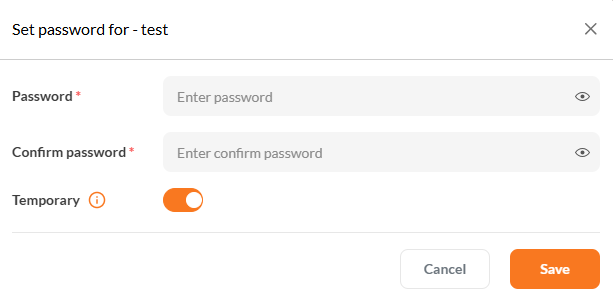
Use the form to set and confirm the password. Enable Temporary if the user should update it on first login.
Once the password is entered and confirmed, click Save to apply the changes.
Use temporary passwords during user onboarding to enforce security and ensure users personalize their credentials after first login.
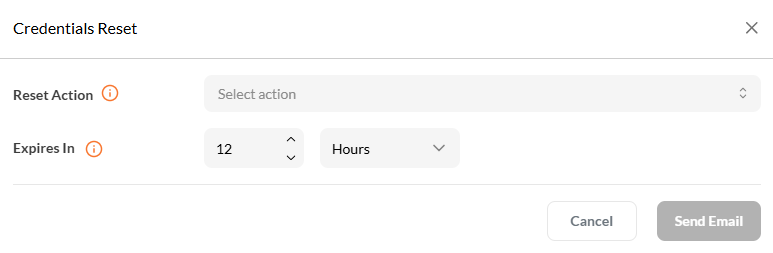
5. Optional – Reset Credentials via Email
Trigger a credential reset link via email with a configurable expiry time.
Creating and Assigning Roles
IAM supports two role types:
1. Tenant Roles (Global Roles)
Tenant roles are global and apply across all applications within the tenant. These are ideal for system-wide permissions such as administrators, auditors, or support users.
Steps to Create a Tenant Role
- Navigate to Security → Role Based Access Control (RBAC) → Roles.
- Click the Create Role button.
- Fill in:
- Role Name (required)
- Description (optional)
- Click Save.

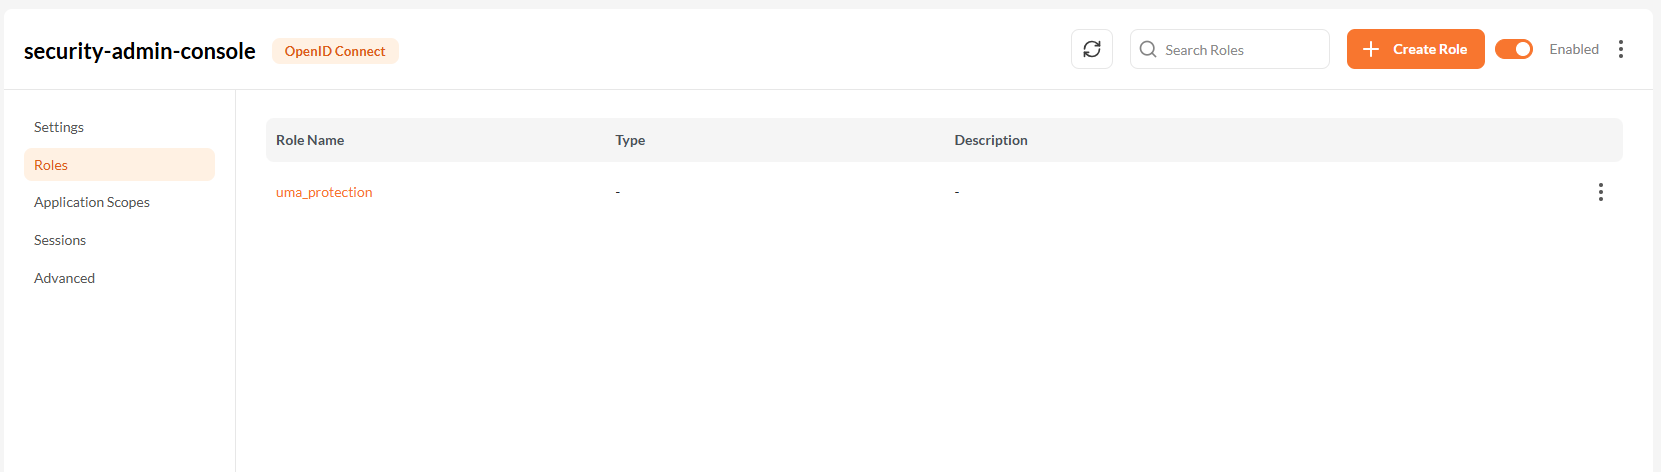
The Roles screen displays all global roles available within the tenant.
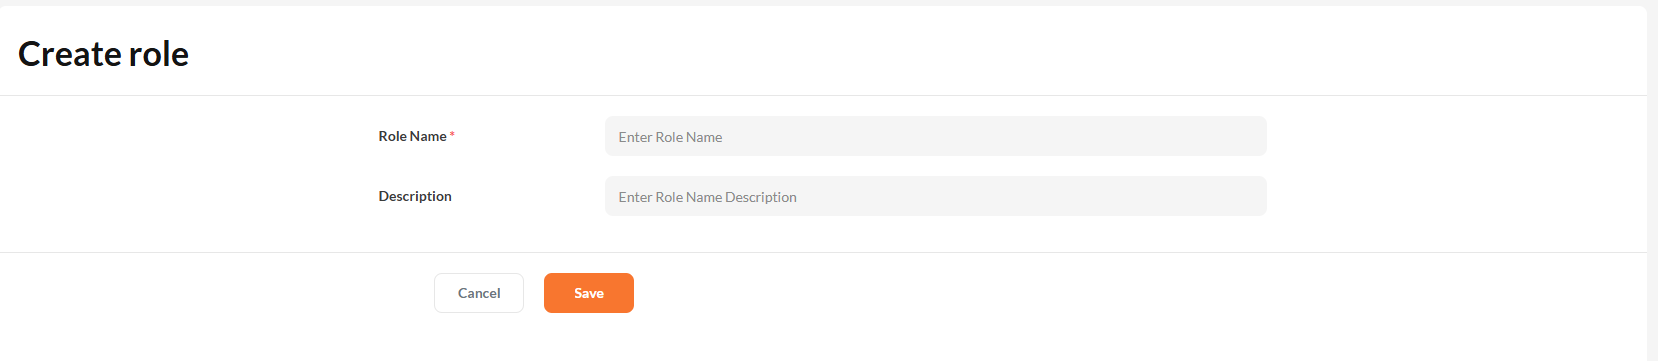
Provide a name and optional description when creating a tenant-level role.
Tenant roles are included in tokens for all applications within the tenant.
2. Application-Specific Roles
Application roles are scoped to a specific app and used to control access or permissions at the app level.
Steps to Create an Application Role
- Navigate to Applications → [Your Application] → Roles.
- Click the Create Role button.
- Fill in:
- Role Name (required)
- Description (optional)
- Click Save.
Application-specific roles are only available within the selected application context.
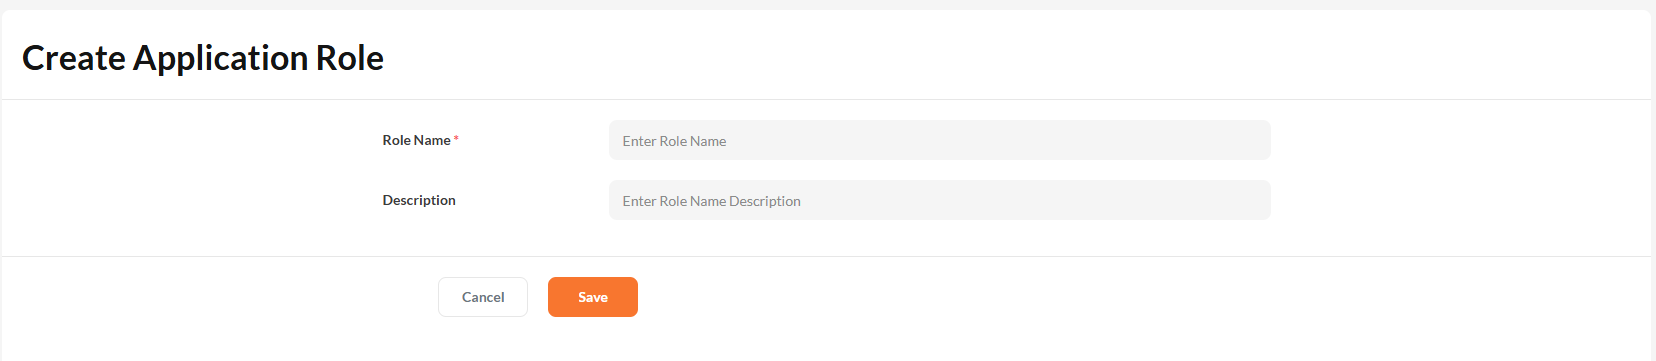
Enter a role name and description to create a scoped role for the selected application.
Application roles are included in tokens only when the user authenticates with that specific application.
Assigning Roles to Users
Roles define what a user can access within the system. You can assign both tenant-wide roles and application-specific roles from the user profile.
Step 1: Navigate to Role Mapping
From the Users list, click on a username to open their profile. Then go to the Role Mapping tab.
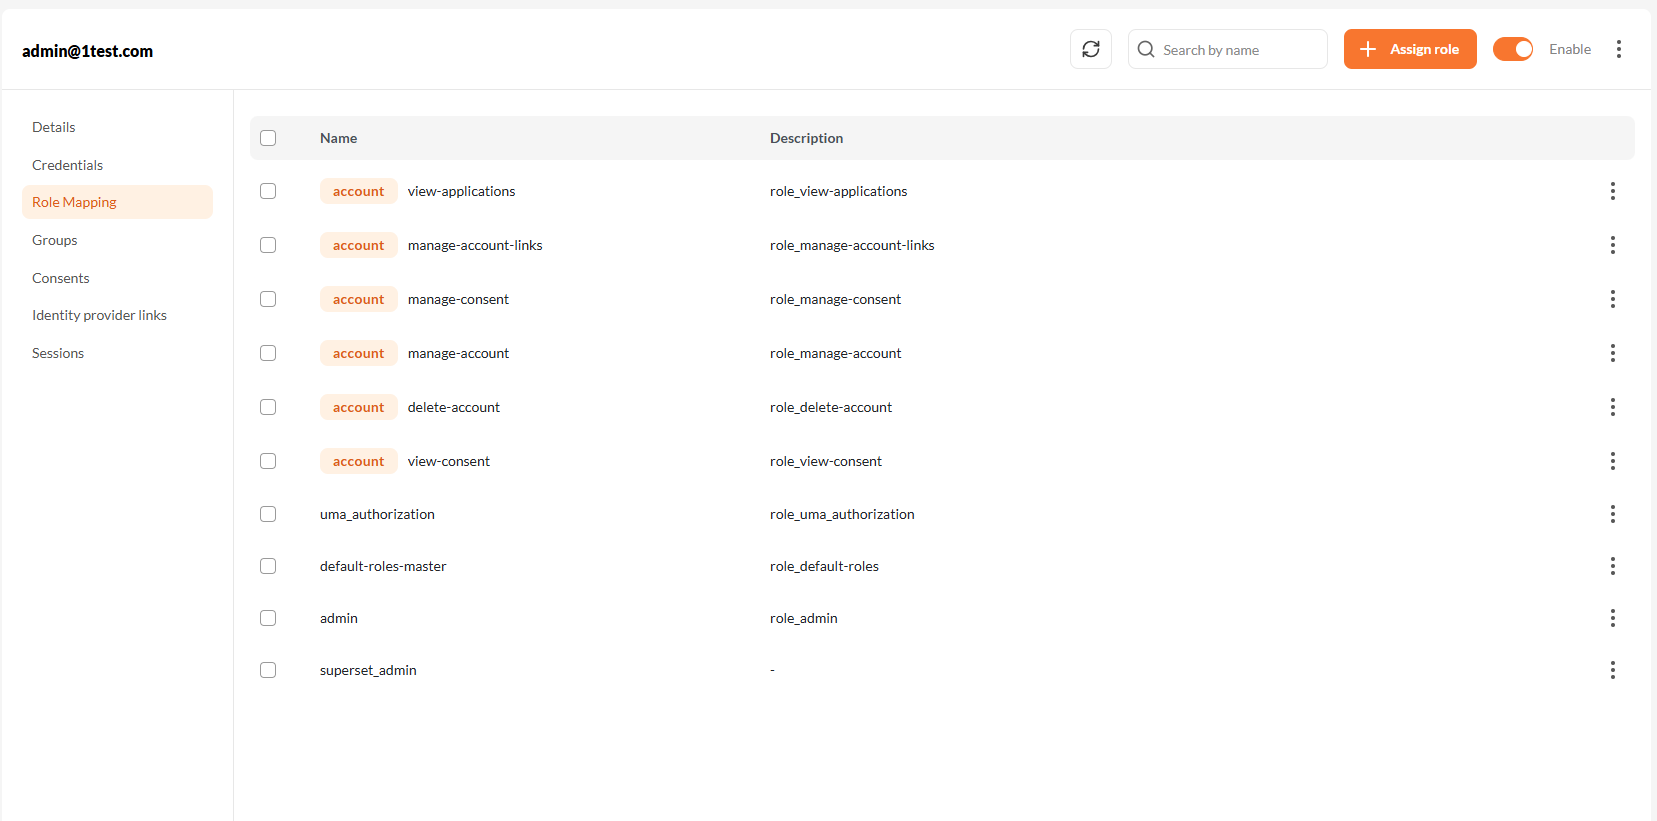
Step 2: Assign New Roles
Click Assign Role to open the role assignment screen.
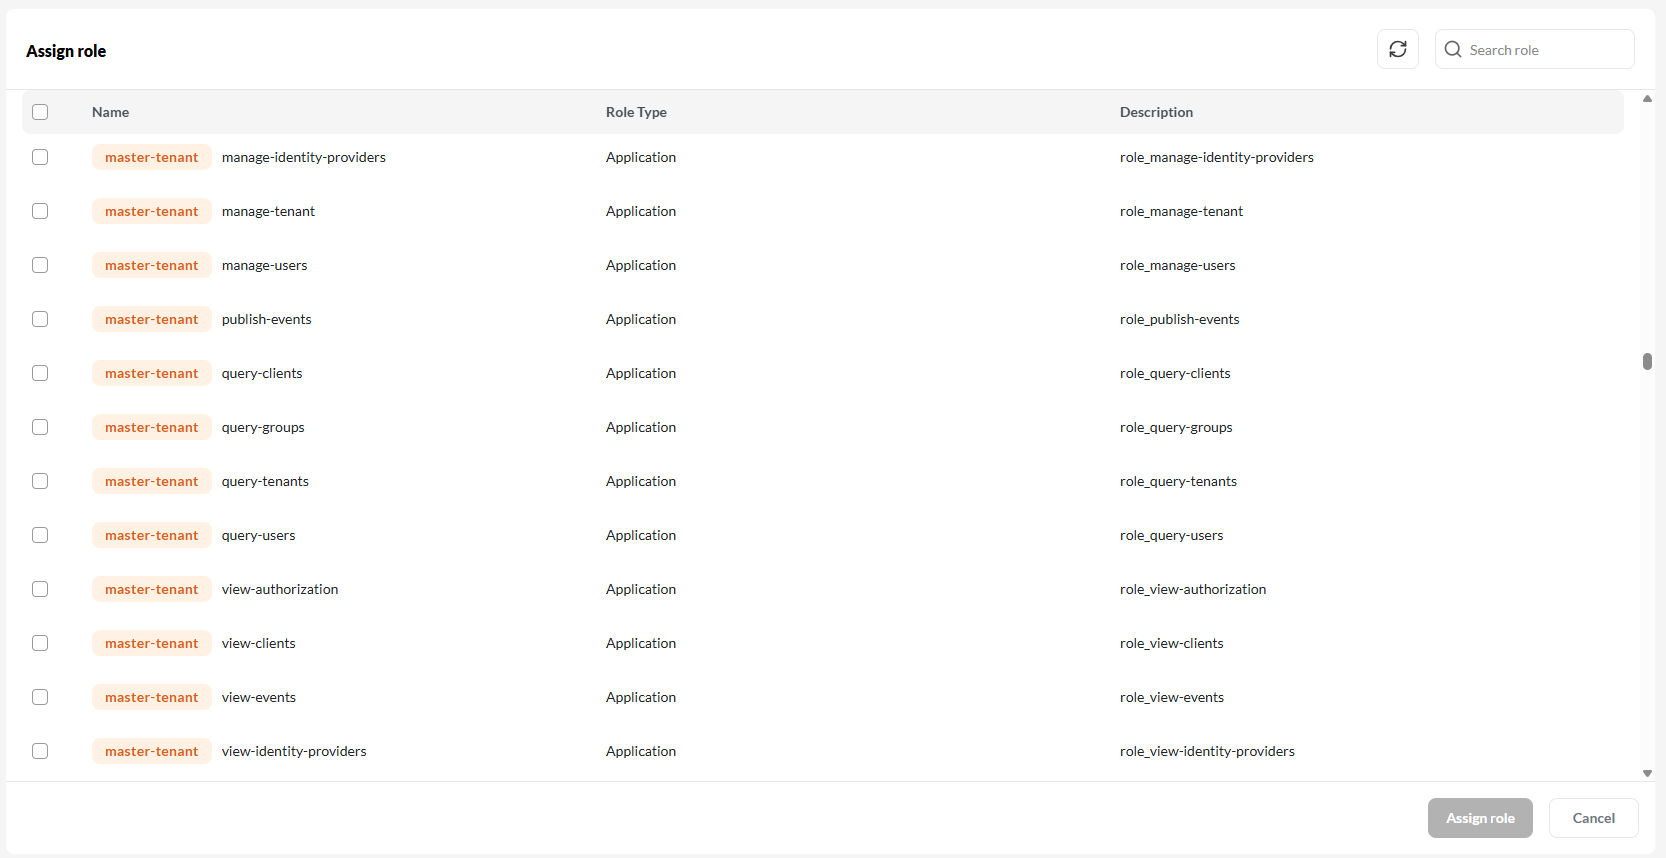
Assign role.- Tenant Roles are global and apply across all applications.
- Application Roles are scoped to a specific application.
After selecting roles, click Assign role to confirm.
Tip: Assigning appropriate roles ensures the user has only the necessary access, following the principle of least privilege.